Getting kids started on their sewing adventure is as 1,2,3.
1. Select fabrics that are very easy to sew, will not ravel, and look the same on both sides. I suggest fleece or felt.
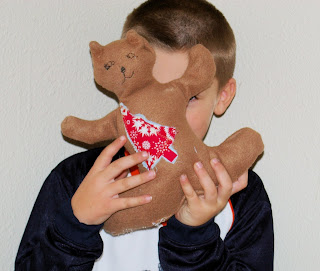
2. Give them a framework like
people, bean bags,
felt food, but let them design their own project. I love
etsy.com to get their minds rolling. I have found that sometimes they insist on the most difficult, that is OK just remind them that is their "inspiration" and not their pattern. I try to make a sample while they are sewing , without being a demonstrator. It helps them see the basic idea in practice,.
3. Get out the sewing machine (or needle and thead) and sew with them. Make sure the project is quick and easy. Who wants to cut out 20 pieces, arrange, and pin before the project starts to takes shape? With felt the seams can be on the inside or outside so let thier imagination run free. As they start to enjoy the freedom a sewing machine has to offer they will begin to figure out/learn the rules about pinning, patterns, and where the right sides of the fabric go. I start by letting them push the petal as I work the fabric, before long they are running the machine better than I am. :)
When the sewing machine become a tool for them to create, their imagination and interest begin to soar. Avoid the trap of "this is how you sew a straight line" and let them experience the joy of homemade.
Happy Sewing!

 Rules to win by:
 Arm the kiddos with a straw, small cup of watered down paint, and sponge. Make sure you don't put more watered paint in the cup than you are willing to have spilled. Have the kiddos dip the sponge in the watered paint and place in on the paper. Using the straw, blow the paint into a creative piece of art.


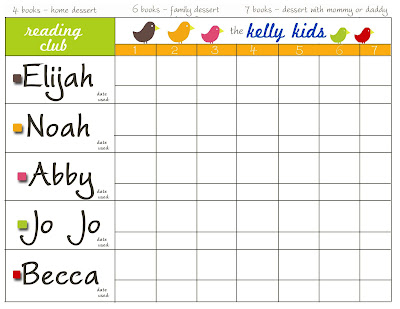
 So many fun games are just waiting to be created. We enjoyed a matching game with letters, but numbers, colors and patterns are just a few of the endless possibles. I used bits of felt, but I think paper would have worked a bit better. The kiddos loved using it as a target as well as a matching game....those clever kiddos, I would have never thought of that.
 If you (or your kiddos) are
 Here are cute little of personalized beanbags that any kiddo will enjoy. We love playing number and cooridination games with out


